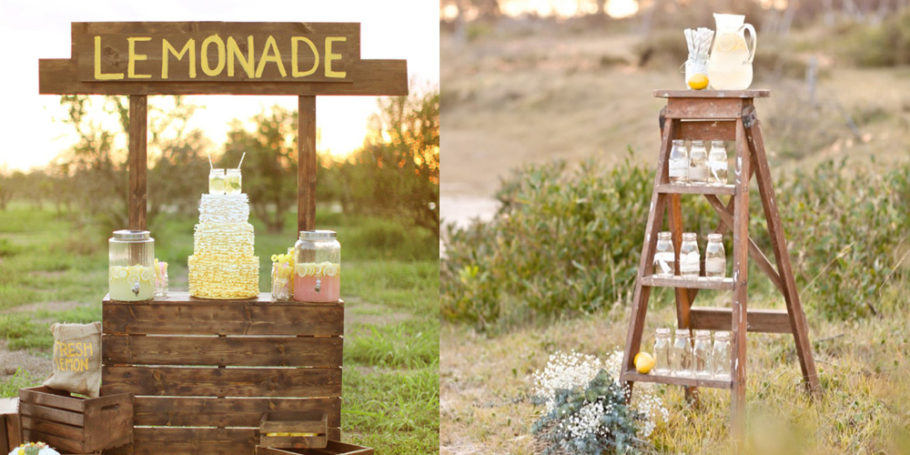
A Lemonade Stand Made Out Of Upcycled Crates
A simple how-to guide on turning old crates and pallets into a lemonade stand. Start by gathering crates lying at home or go to a local retailer and find some broken pallets. At least one should be completely intact as it will make the base of the lemonade stand. Rest will be taken apart which means they can be chipped, broken or cut-up.
- Keep the intact pallet aside. Use a crowbar and dismantle the slats from all the pallets. Get rid of any rusty nails.
- To smooth out the rough edges of the slats, use an orbital sander. It will remove all splinters from the wood and make the edges seamless. You can also paint over the slats
- Now take the intact pallet which is the base of the lemonade stand and attach all the slats to it, vertically. After that is done, add two more vertical posts at each corner. These posts will hold up the stand sign. Utilise a nail gun to attach the posts and the slats.
- To make the countertop of the stand, get plywood. With a circular saw cut the plywood in the exact dimensions that will be needed. Place the plywood at ninety degrees to the base crate and over the slats. Attach it using the nail gun.
- Now take any left-over slat and cut in length equal to the distance between the 2 vertical corner posts. This slat will be your lemonade stand sign. Before fixing it on the stand, place it between the posts to check it fits.
- Paint the sign with a one-inch paintbrush and any colour paint you wish and then fix to the posts.
Your recycled lemonade stand is ready to start serving to customers. It is reliable, durable and makes for an excellent way to upcycle crates that will ultimately land in landfills.


