DIY Copper Pipe Chandelier
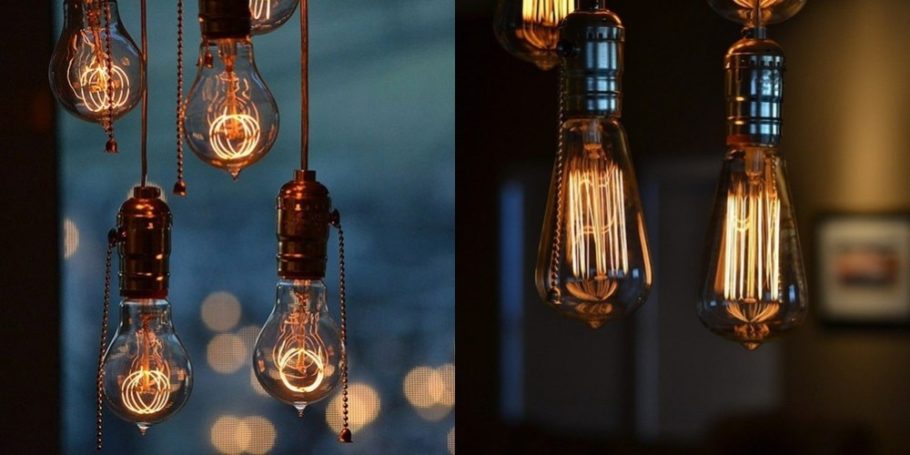
Glass lampshades are looped from the copper pipe to develop a dangling accent light. To create a lovely copper popular chandelier, you need to have basic materials like copper pipe, lighting wire, and keyless sockets.
Step 1:
First, trim the copper piper according to your requirement. If you have plans to add more lights like five or six, you need to make the pipe longer. In this example, we are doing three light fixture. So, we need two feet piping. Think where you want to fix the glass shades. Make holes in the pipe so that the fixture would come out. Also, drill a hole at the back so as to connect with the ceiling.
Step 2:
You will be a single wire for the entire fixtures. Thread the wire in such a way the wire ends hang out at the last light shade. Leave sufficient wire to reach the plug or ceiling junction box.
Step 3:
Attach the wires to the socket as per the instructions given by the manufacturer.
Step 4:
Attach the wire into the wall plug or junction box. Use copper piping for additional support and copper wiring to cover around glass shade.
Step 5:
Use copper wiring or curtain rods to hang fitting to the ceiling hooks. If necessary, adjust copper wiring.


